
Tutorial Details
- Program: CorelDraw 11 - X5
- Source File
Step 1 : Basic Elements
First of all you have to use CorelDraw with version 11+. In this tutorial I use CorelDraw X5, Okay lets get started.Let’s take a look at the basic elements used to create our design :

This also will be our steps to create the design.
Step 2 : Creating Worksheet
Okay, now that you know the steps and elements, we will begin.First of all open your CorelDraw program, now create a new file and set the paper size to Custom, and change the size into 4000 x 3000 pixel.

Step 3 : Creating the Header
Now that we have our worksheet set, we will begin to create the HeaderFirst go to the "Rectangle Tool ", you can find it on the left toolbar, make a box shape and then make the box shape resized into 2621 x 742 pixel.

After that go to the " Shape Tool " and go to the upper toolbar there you will find corner shape option, set the type into Rounded Corner, and set the Corner Radius of top left and the right bottom corner to 50 px and 168 px.

Let’s put color in it.
Select the box go to the "Fountain Fill Tool ", which is in the left bottom toolbar, choose custom fill on the color blend and make the type Radial, fill the color with Dark Blue on the left, Blue on the middle and Light Blue on the right.


Step 4 : Creating the Notepad
Okay now go to the "Rectangle Tool ", you can find it on the left toolbar, make a new box shape and then make the box shape resized into 885 x 635 pixel.
After that go to the " Shape Tool " and go to the upper toolbar there you will find corner shape option, set the type into Rounded Corner, and set the Corner Radius to 107 px, apply it on all corners.

Let’s put color in it.
Select the box go to the "Fountain Fill Tool ", choose custom fill on the color blend and make the type Linear, fill the color with Gray on the left and white on the right.


Now create a tiny Circle Shape using " Ellipse Tool " in the left toolbar, and resize it to 41 x 41 pixel.

Arrange the Circle on top of the Gray Box Shape, put an Orange color and copy it as picture below.

After that create a line using " Bezier Tool " by left click and point.

Lets shape it using " Shape Tool ", click on the middle of the line and find "convert to curves " in the top toolbar, drag the arrow on the corner in order to shape.

Now go to the " Outline Tool " in the left toolbar and make the line thicker by applying the value below.


After that arrange the shaped line on top of the Orange Circle.

Using same steps as above create a Horizontal Line and arrange it on top of the Grey Box.

Now group all the object by selecting it and press " Ctrl + G ", arrange it on the left side of the Header.

Step 5 : Creating the Header Accent
Lets make the Headers more vibrant by adding more accent, go to the "Rectangle Tool ", make a box shape and then make the box shape resized into 1172 x 864 pixel.
Customize the corner using " Shape Tool " and apply the value below.
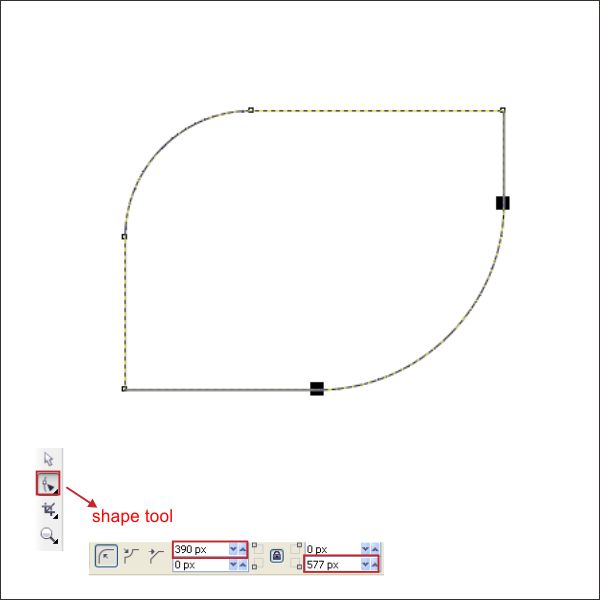
Put a Light Blue Color in it.

Arrange it on the upper left corner of the headers.

Lets create another new box shape using " Rectangle Tool " and resized it as picture below.

Go to the " Shape Tool " and customize the corner by applying the value below.

Create several small circle on the bottom of the box, using " Ellipse Tool ".

Now select all the object and go to the upper toolbar, there you will find " Trim Tool ", press it on order to cut the box.
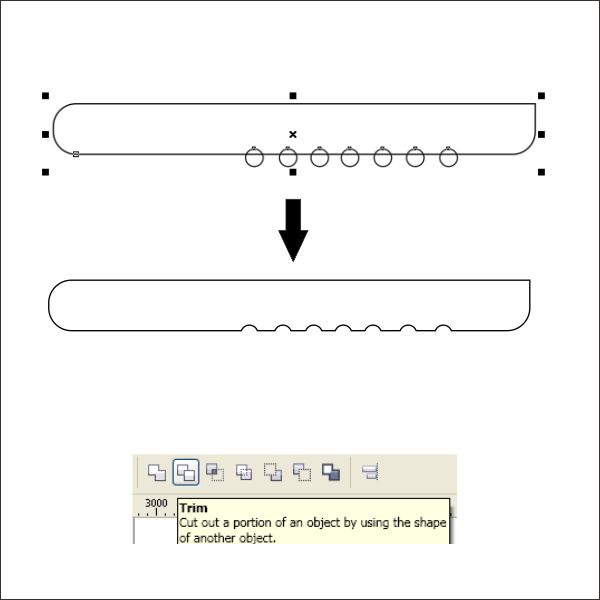
Let’s put color in it, select the box go to the "Fountain Fill Tool ", choose custom fill on the color blend and make the type Radial, fill the color with Dark Blue on the left, Blue on the middle and Pink on the right.


After that, arrange the box into the bottom of the Header.
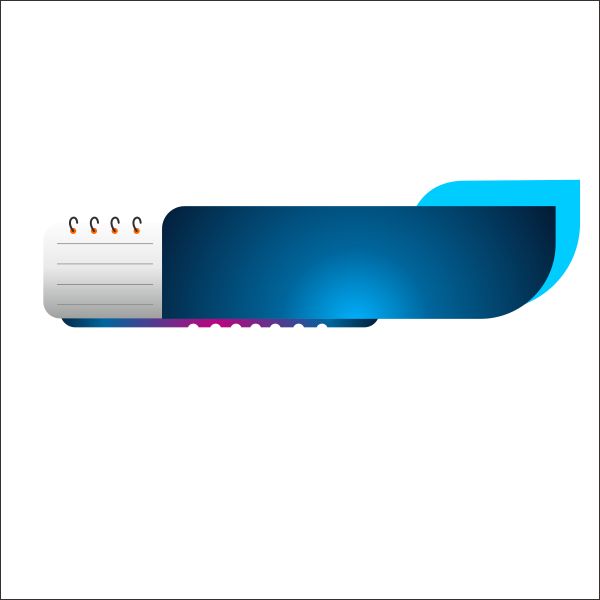
Copy the box shape and arrange it on top of the Header.

After that go to the " Callout Shape Tool " in the left toolbar, and create a callout box.

Put Dark Yellow color in it.

Flip and copy the Callout Box by pressing " Ctrl + Left + Right Mouse " while dragging it to the right.

Arrange both of the Callout Box on top of the Notepad.

Okay now we are going to make the Search Box, create a box shape using " Rectangle Tool " and resized it as picture below.

Shape it using " Shape Tool " and customize the corner as picture below.

Put Black color in it.

Now create a small circle using " Ellipse Tool " and resized it as picture below.

Create a line on the left bottom of the circle using " Ellipse Tool "

Put White color in it, and arrange in on top of the Black Box.

Arrange the Search box on the Right upper corner of the Header.

Step 6 : Creating the Header Texture
Lets create the texture for the Headers, create a box shape using " Rectangle Tool " and resized it as picture below.
Put Pink outline color in it

After that copy the box by pressing " Ctrl + Left + Right Mouse " while dragging it to the right, and duplicate it by pressing " Ctrl + D ".

Now select all the boxes, and using same steps as above copy and duplicate it vertically.

Step 6 : Working with Transparency
Okay now lets make the texture a little transparent, select all the boxes and go to " Interactive Transparency Tools" , now you see that in the cursor there is a little glass, Left Click & Drag the cursor, from left to right, so the transparency will make it linear to right.

Step 7 : Working with Powerclip
Now we are going to use the " Powerclip Tool " to insert the Texture into the Header, first rotate the Texture by double click it and rotate.
After that arrange it on top of the Header.
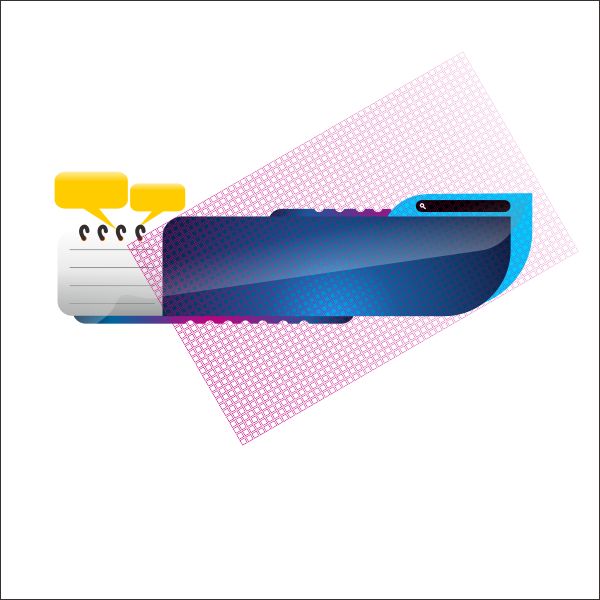
Select the Texture, and then go to the top toolbar and find Effect > Powerclip > Place Inside Container, then you will see a black arrow, Left-click it to the Header, and now you will see that the Grouped elements is inside the Black Frame,
you can go "inside" or "outside" the container by holding "Ctrl" while double-clicking it.

Step 8 : Creating the Website Body
Now we are going to create the website Body, go to the "Rectangle Tool" and create a box shape, resized it as picture below.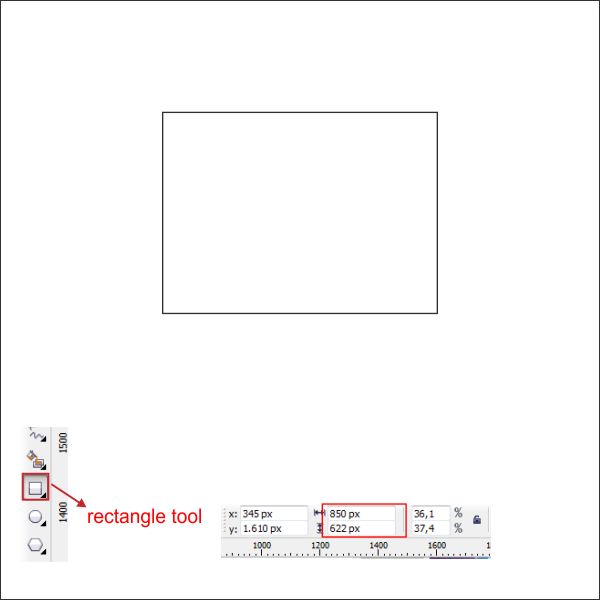
Shape it using " Shape Tool " and customize the corner as picture below.


Let’s put color in it, select the box go to the "Fountain Fill Tool ", choose custom fill on the color blend and make the type Radial, fill the color with Light Blue on the left and White on the right.

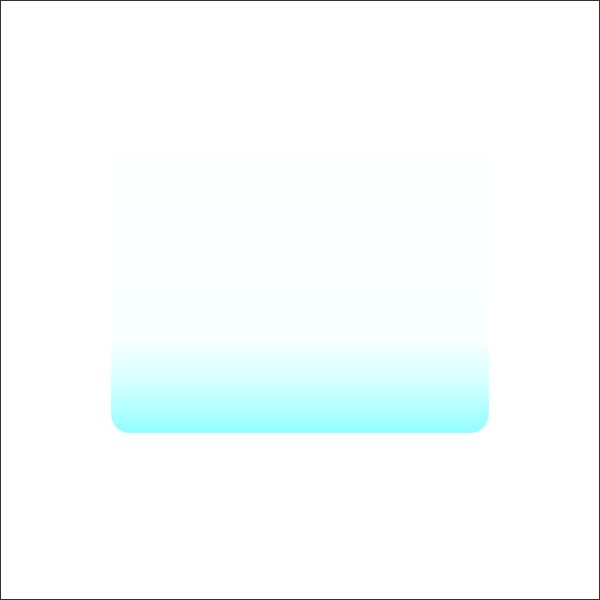
After that create a new box using " Rectangle Tool " and apply the value below.
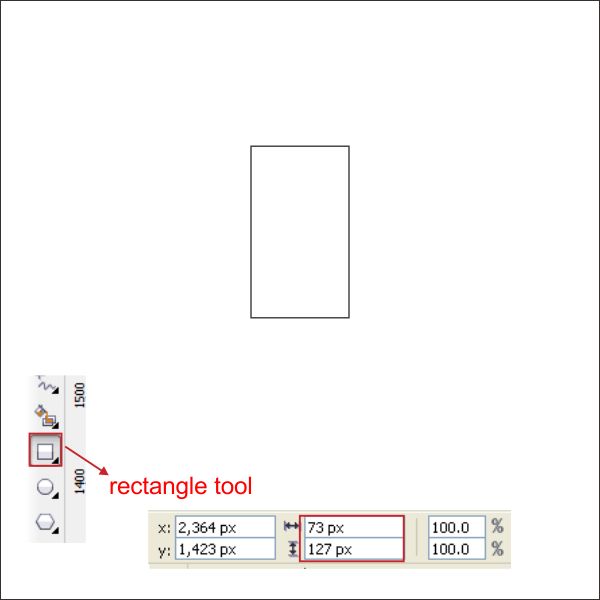
Using " Shape Tool " customize the corner of the box as picture below.

Put Green color in it.

Arrange the Green box into the Right side of the Website Body.

Copy the Green box and resize it a bit smaller than the original, arrange it on the bottom of the Green Box and put Pink color in it.

Using same steps as above copy another and put different color in it.

Now select the Website Body and copy it to the Right Bottom corner of the Website Body.

Let’s put color in it, select the box go to the "Fountain Fill Tool ", choose custom fill on the color blend and make the type Radial, fill the color with Dark Blue on the left, Blue on the middle and Pink on the right.


Now lets create a texture for the Website Body, go to the " Ellipse Tool " and create a circle shape.

Copy the circle and make it smaller than the original.

Select both of the circle, and go to the upper toolbar, there you will see " Trim Tool " select it in order to cut the circle.

Put a Light Blue color in the Circle Shape.

Using " Transparency Tool ", make the Circle transparent by dragging it from bottom to top to make it Transparent Linear Top.

Now copy the Circle and make the copied one smaller than the original.
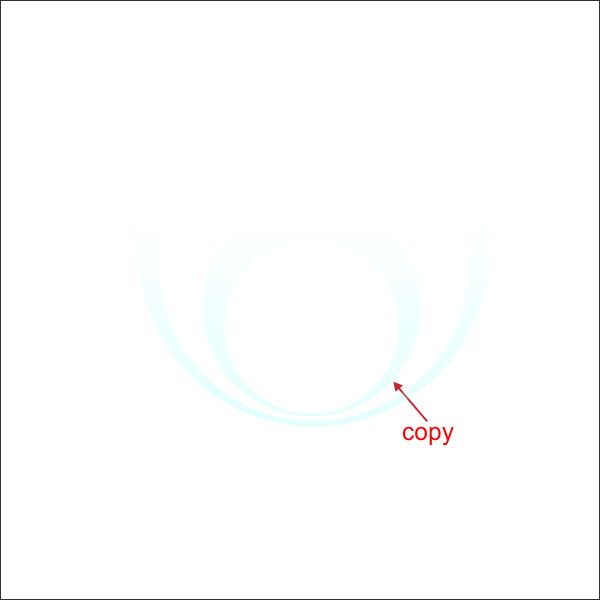
Select the Circle and place it inside the Website Body using " PowerClip " same as step 7.

Select all the object and Group it by pressing " Ctrl + G ", and arrange it to the bottom of the Header.

Step 9 : Creating the Navigation Bar
Now lets create the Navigation Bar, create a box using "Rectangle Tool " and resized it as below.
Go to the " Shape Tool " and customize the Left Corner.

Now create a small circle on the left top corner, using " Ellipse Tool ".

Select both of the object, and go to the upper toolbar, there you will see " Trim Tool " press it in order to cut the box shape.

Let’s put color in it, select the box go to the "Fountain Fill Tool ", choose custom fill on the color blend and make the type Radial, fill the color with Light Blue on the left,and Pink on the right.


We are going to make the button, go to the " Rectangle Tool " create a box shape and resized it as below.

Customize the Corner using " Shape Tool ".

Put a Black color in it.

Using " Transparency Tool " make the Shape transparent by dragging it from Bottom to Top, this will make the Transparency linear top.

Copy and Duplicate the Shape same as picture below.

Now using " PowerClip " tool, place the Shape inside the Navigation Bar same as step 7.


After that arrange the Navigation Bar into the Left side of the Website Body.

Step 10 : Creating the Background
Now lets create the Website Background, create a box using "Rectangle Tool " and resized it as below.
Let’s put color in it, select the box go to the "Fountain Fill Tool ", choose custom fill on the color blend and make the type Radial, fill the color with Pink on the left,and Light Pink on the right.


After that go to the "Basic Shape Tool ", its in the left toolbar, after you click it go to the top toolbar, there you will see an option drop box, choose water drop shape its second from the last, create a water drop shape by click and drag it.

Shape it using " Shape Tool " as picture below.

Let’s put color in it, select the box go to the "Fountain Fill Tool ", choose custom fill on the color blend and make the type Radial, fill the color with Orange on the left,and Yellow on the right.


Copy and Duplicate the Shape and put different color to make it more vibrant, you can choose any color that you like.

Lets make it transparent by using " Transparency Tool ", set the transparency type into uniform and apply the value below.

Copy, Rotate, and duplicate the Shape similar like below.

Copy, Rotate, and duplicate it again to make untill it looks like a balloon flow.


Arrange it on top of the Background.

Now place the Ballon flow inside the Bacground using " PowerClip" tool same as step 7.

Lets add more baclground to make it vibrant, create a circle shape using " Ellipse Tool "
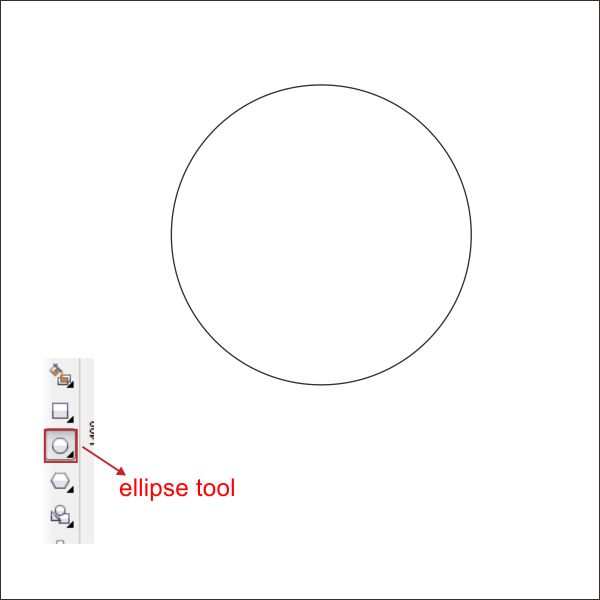
Copy and Duplicate it similar as below.

Put color in it, u can use any color you like but in this tutorial i use Blue, Light Blue, Pink and Purple.

After that lets make it transparent using " Transparency Tool ", drag it from right bottom corner to left top corner of the Circle to make it linear transparent.

Copy and Duplicate the Circle similar like below.

Arrange it on the Right top corner and left bottom corner of the Background.

Now select the Website Header, Body, and Navigation Bar, arrange it on top of the Background.


 7:35 PM
 Unknown


 Posted in:
0 comments:
Post a Comment